
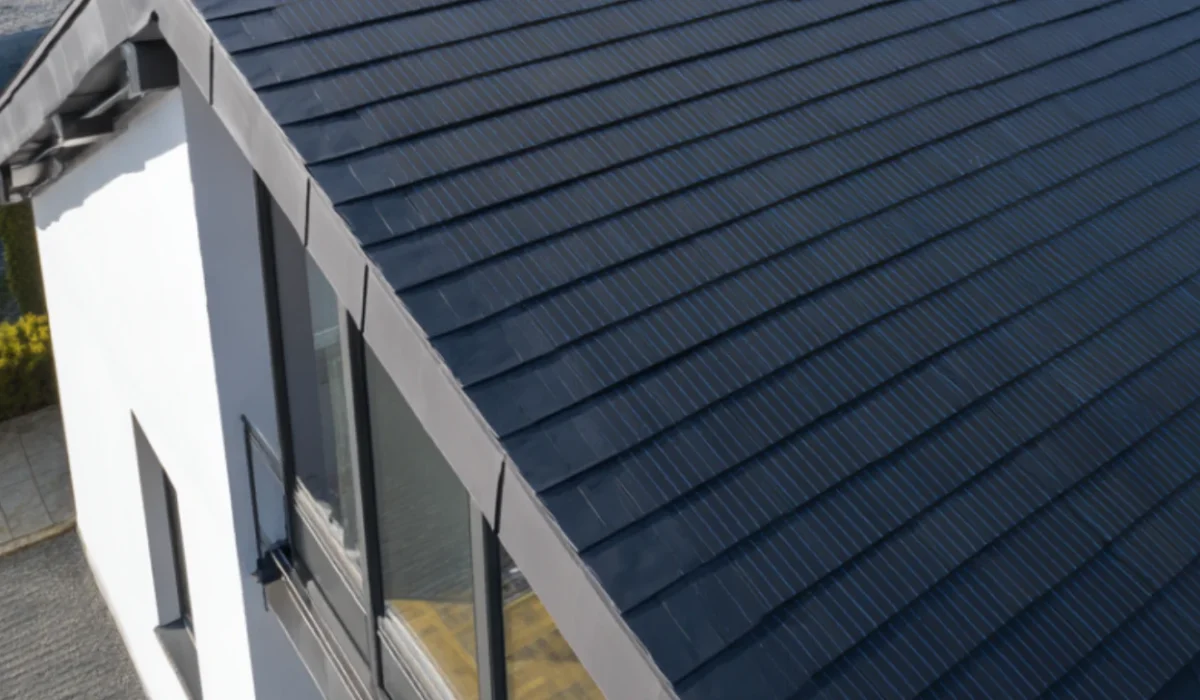
Solar installation changes how a tile roof should be inspected, maintained, and documented. Tile Roofing San Diego, located in San Diego, CA, recommends a dedicated post-solar inspection because crews must move across fragile clay or concrete tiles, install mounting hardware, route conduit, and work near valleys, vents, ridges, flashings, and drainage paths. A solar system may pass its electrical inspection while concealed roof damage, displaced tiles, or incomplete flashing remains unnoticed. We therefore evaluate the roofing system separately from the photovoltaic equipment.
Why a Post-Solar Tile Roof Inspection Matters
A tile roof is not waterproof because of the visible tiles alone. Clay and concrete tiles shed most rainwater, while underlayment, flashings, valleys, and properly lapped components manage water that reaches beneath the tile field. Solar installation introduces mounting points and concentrated work zones into that layered assembly.
The Tile Roofing Industry Alliance guidance states that when clay or concrete tile roofs are altered for accessories, penetrations or disruptions should receive appropriate flashing at both the deck or underlayment level and the tile level. This dual protection preserves drainage above the tiles and secondary water management below them.
Damage may remain invisible during dry weather. A cracked tile beneath a panel can admit wind-driven rain. A poorly integrated flashing can direct water below the underlayment. Debris trapped at the lower edge of an array can restrict drainage. We must evaluate the complete roof system rather than merely count broken tiles.
Contact Us
When to Schedule the Inspection
We recommend scheduling the first inspection immediately after the solar contractor reports that roof work is complete and before final payment or closeout documents are accepted. This creates a clear condition record while installation dates, crew access, and warranty responsibilities are easy to establish.
A second inspection is useful after the first meaningful rain, especially when the project was completed during San Diego’s dry season. Water can reveal damp underlayment, staining near penetrations, wet insulation, or slow attic leakage that was not apparent in photographs.
Additional inspections should be considered after high winds, panel removal and reinstallation, new ceiling staining, attic moisture, property turnover, or work by cleaners, pest-control technicians, electricians, or HVAC crews near the array.
Collect the Solar and Roofing Documents First
We begin with documentation. Homeowners and property managers should request the solar contract, roofing and solar workmanship warranties, mounting-system specifications, permit number, approved plans, final inspection record, pre- and post-installation photographs, tile replacement invoice, and prior reroofing or underlayment records.
For HOA-controlled properties, we also review the architectural approval, approved panel layout, exposed-conduit color requirements, contractor insurance certificate, common-area access rules, and owner responsibility agreement.
The City requires a permit for residential rooftop-mounted PV installations. Its City of San Diego residential solar permitting page explains that eligible projects may be self-issued without plan review when they meet stated criteria, while projects involving structural modifications require a different permitting path. Permit approval confirms regulatory processing; it is not a detailed tile-roof condition report.
Start With a Safe Ground-Level Inspection
Homeowners should not walk on clay or concrete tiles to complete this checklist. Foot traffic can crack older clay pieces, lightweight profiles, unsupported edges, and tiles weakened by previous repairs. We use binoculars, camera zoom, attic access, balcony views, or a licensed roofer trained to move safely on tile.
From the ground, inspect every roof plane containing panels and each adjacent plane used for access. Look for:
- Freshly broken, chipped, slipped, or missing tiles
- Tiles sitting higher or lower than surrounding courses
- Uneven rows around panel supports
- Exposed underlayment or visible mounting gaps
- Bent flashing, excessive sealant, or patch-like repairs
- Debris collected below the array
- Displaced ridge, hip, rake, or eave tiles
- Conduit resting directly on tiles
- Loose supports or hanging cables
- New staining at eaves, fascia, stucco, or soffits
- Damaged gutters near ladder access points
Photograph each elevation in wide view, then capture close-ups. Preserve the original file metadata and mark suspected defects on a roof diagram so every contractor and stakeholder is discussing the same location.
Inspect the Solar Mounting Points
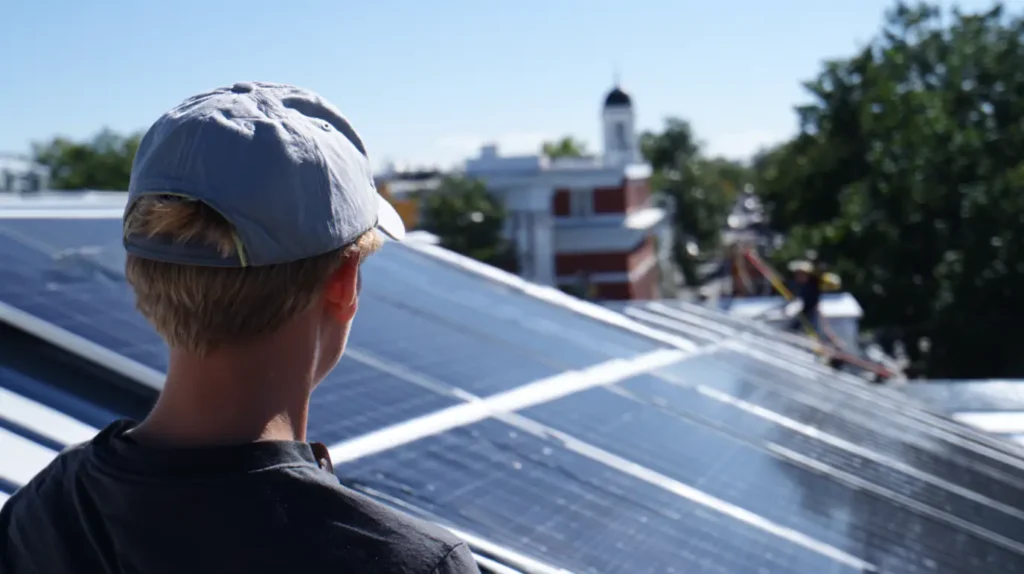
Mounting points are the highest-priority areas because they transfer panel loads into the roof structure and interrupt the tile field. The completed assembly should support the rack without crushing tiles or relying on tile for structural attachment.
We check visible mounts for misalignment, movement, corrosion, broken surrounding tiles, inadequate clearance, or tiles forced against hardware. A tile pinched between mounting components and the deck may crack immediately or after repeated thermal movement.
Notched tiles require close examination. Some systems require controlled cutting, but the cut should not remove excessive material or leave the tile unsupported. Large irregular notches, fractured corners, exposed gaps, or heavy sealant may indicate an unreliable detail.
Sealant should not be the only defense at a penetration. Surface caulk can age, separate, or conceal incomplete flashing. The inspector should verify the attachment and flashing method against the mounting manufacturer’s instructions and applicable tile-roof requirements.
Verify Flashing and Underlayment Integration
A professional inspection must determine whether each penetration was integrated into the roof’s drainage layers. This may require lifting selected tiles around representative mounts rather than relying only on exterior photographs.
We confirm that:
- Structural fasteners engage the intended framing or approved structural member.
- The penetration is protected at the deck or underlayment level.
- Upper flashing laps beneath the water-shedding layer above.
- The lower portion drains over the layer below.
- Tile-level flashing directs water around the mount.
- Abandoned or exploratory holes are properly repaired.
- Underlayment is not torn, overcut, wrinkled, or exposed.
- Repair materials are compatible with existing underlayment and metals.
This is especially important on older San Diego roofs where tile remains serviceable but underlayment has become brittle. Lifting tiles for solar work can disturb aged felt, open old fastener holes, or fracture material that appeared intact before installation.
Check Clay Tile and Concrete Tile Differently
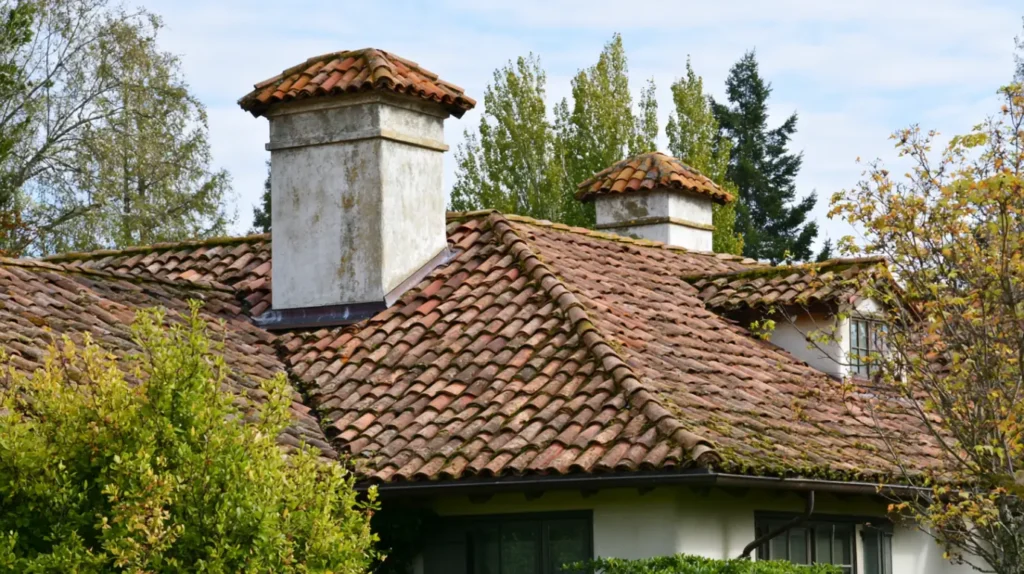
Clay tile is typically more brittle and less forgiving of concentrated foot pressure. Hairline fractures can be difficult to see on curved Mission or Spanish profiles. We inspect the nose, side locks, crown, and concealed head of tiles near mounts and access routes.
Concrete tile is heavier but can still crack at unsupported corners, interlocks, fastener holes, and cutouts. Surface chips are not always leaks, yet deep fractures or broken water channels can disrupt drainage. Fresh abrasion may also reveal where tools or boots damaged the finish.
Replacement tiles must match the profile closely enough to preserve interlock, headlap, drainage, and appearance. A visual “close match” is inadequate when side locks do not seat correctly. HOAs should require the manufacturer, profile, color blend, and source of replacement pieces, particularly when the original product is discontinued.
Inspect the Panel Perimeter and Hidden Tile Zones
Solar panels create shaded areas that are difficult to view from the ground. Inspectors may use controlled tile access, pole cameras, or drones where legally and safely appropriate to examine the roof beneath and around the array.
We focus on the lower panel edge, where leaves, seed pods, palm debris, bird nests, and broken tile fragments collect. Debris can obstruct water flow, retain moisture, and hide slipped tiles.
Check whether the panel layout blocks access to valleys, vents, skylights, or serviceable flashings. Confirm that panel frames and rails do not concentrate runoff onto a vulnerable sidewall, valley, or single tile.
Examine Valleys, Walls, Ridges, and Roof Transitions
Solar crews may damage roof areas that contain no panels, particularly the route between the ladder and array.
Inspect valleys for broken cuts, displaced metal, punctures, dropped fasteners, sealant, cable scraps, and debris. Water must move through the valley without obstruction.
At walls and chimneys, check step flashing, headwall flashing, counterflashing, and tile closures. At hips and ridges, look for loose cap tiles, cracked mortar, displaced fasteners, or disturbed weather blocking. At eaves, check for broken lower-course tiles, exposed underlayment, and damaged bird stops or closures.
Review Conduit, Junction Boxes, and Electrical Roof Components
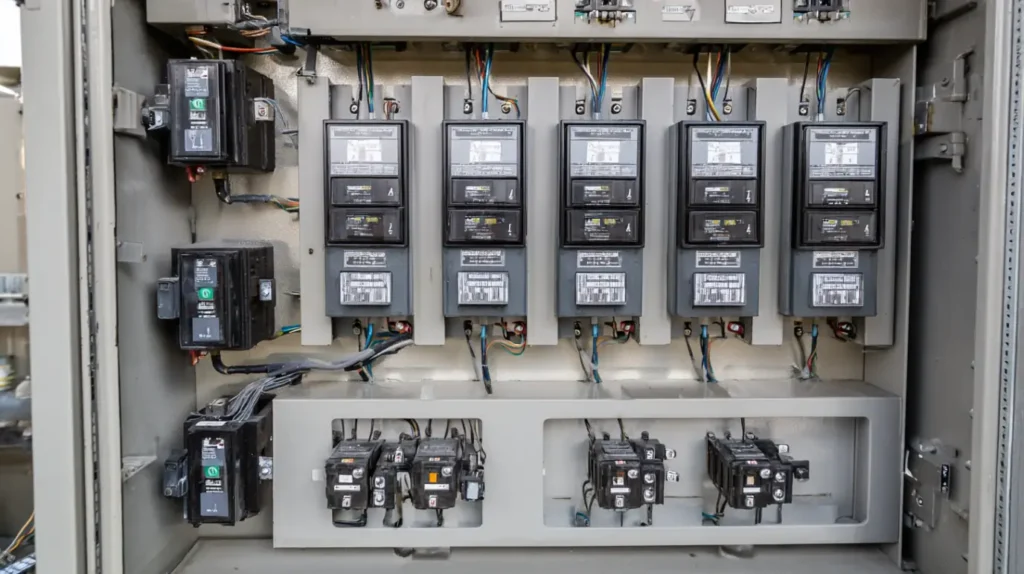
Conduit should be independently supported and should not rest loosely on tile crowns. Supports must not crack tiles or create unflashed penetrations. Junction boxes and rooftop electrical components should be securely mounted and weather-protected.
Inspect every point where conduit crosses a ridge, valley, wall, or transition. Poor routing can trap debris, obstruct drainage, or complicate future repairs. Check for exposed wiring, loose clips, UV-damaged ties, and cables touching abrasive tile edges.
Roofers should not alter energized equipment, and solar technicians should not perform tile repairs beyond their roofing qualifications. Defects involving both systems should be coordinated between a qualified tile roofer and licensed solar contractor.
Complete an Interior and Attic Moisture Inspection
We inspect the attic beneath the array, each mounting row, and areas downslope from penetrations because water may travel along underlayment, rafters, wiring, or fasteners before dripping.
Look for darkened decking, water rings, rusted nail tips, damp insulation, mineral deposits, mold-like growth, stained rafters, and daylight through unintended openings. Use a moisture meter to compare suspicious wood with nearby dry reference areas. Thermal imaging can identify anomalies, but findings should be confirmed with direct moisture testing.
Document conditions during dry weather and after rain when a defect is suspected. Do not assume a stain is old merely because it feels dry. Compare it with pre-solar photographs and monitor it for change.
HOA and Property Manager Closeout Checklist
For shared communities, roof damage can create disputes among the owner, association, solar contractor, and roofing contractor. We recommend maintaining a property file that includes:
- Approved solar layout and architectural approval
- Permit and final inspection documents
- Pre-work and post-work roof reports
- Photographs of each roof plane and mounting area
- Inventory of replaced tiles
- Written confirmation of the flashing method
- Solar and roofing warranties
- Contractor license and insurance records
- Responsibility for future panel removal and reinstallation
- Emergency access and shutoff information
- Written resolution of punch-list items
Property managers should track the installation date, roof age, underlayment age, mounting system, warranty contacts, panel owner, and whether the roof is association- or owner-maintained. These records become critical when leaks affect multiple units or a community-wide lift-and-relay project is planned.
Red Flags That Require Prompt Roofing Repair
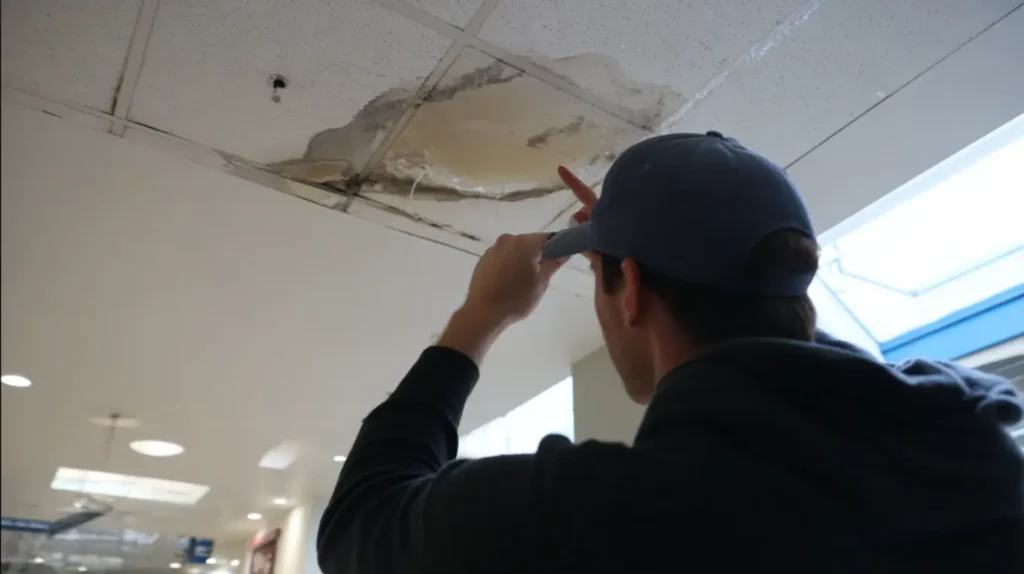
Prompt evaluation is warranted when the inspection identifies active moisture, broken tiles upslope of a penetration, exposed underlayment, loose mounts, missing flashing, abandoned holes, damaged valleys, structural movement, or widespread breakage.
Other warning signs include repeated sealant-only repairs, incompatible replacement tiles, mounts installed through broken tile pieces, rails pressing against tiles, fresh ceiling stains, damp insulation, or repairs that cannot be inspected without removing panels.
Tile Roofing San Diego can determine whether the defect is limited to individual tiles, requires flashing correction, involves underlayment repair, or indicates that the array was installed over a roof nearing the end of its serviceable waterproofing life.
Conclusion
A post-solar tile roof inspection protects the roof, solar investment, interior, warranty record, and future resale documentation. The review should cover tiles, access routes, mounts, dual-layer flashing, underlayment, valleys, ridges, conduit, drainage, attic conditions, permits, and HOA closeout records. Completing it immediately after installation and again after rain gives San Diego homeowners and property managers the strongest opportunity to correct damage before it becomes a recurring leak or an expensive panel-removal project.
Frequently Asked Questions
Can a solar installation crack clay or concrete roof tiles?
Yes. Tiles can crack from foot traffic, dropped tools, improper lifting, oversized cuts, unsupported mounting hardware, or pressure from rails and brackets. Clay tiles are especially vulnerable to hidden fractures, while concrete tiles commonly break at corners, interlocks, and cutouts. The inspection should examine both the array and the crew’s access route.
Does passing the solar permit inspection mean the tile roof is undamaged?
No. A permit inspection addresses the approved solar project and applicable code requirements; it is not a comprehensive condition assessment of every tile, flashing detail, underlayment area, or attic surface. A separate tile-roof inspection is needed to document installation-related damage and water-management defects.
Who should inspect a tile roof after solar panels are installed?
A qualified roofing contractor with experience in clay and concrete tile systems should inspect the roof. When mounting hardware, wiring, or energized equipment must be adjusted, the roofer should coordinate with a licensed solar contractor. For HOA or property-management closeout, an independent written report with photographs provides the clearest record.